There are multiple ways to install a new conveyor dryer belt. Here is a video tutorial of one way.
Best Practices to Installing a New Conveyor Dryer Belt
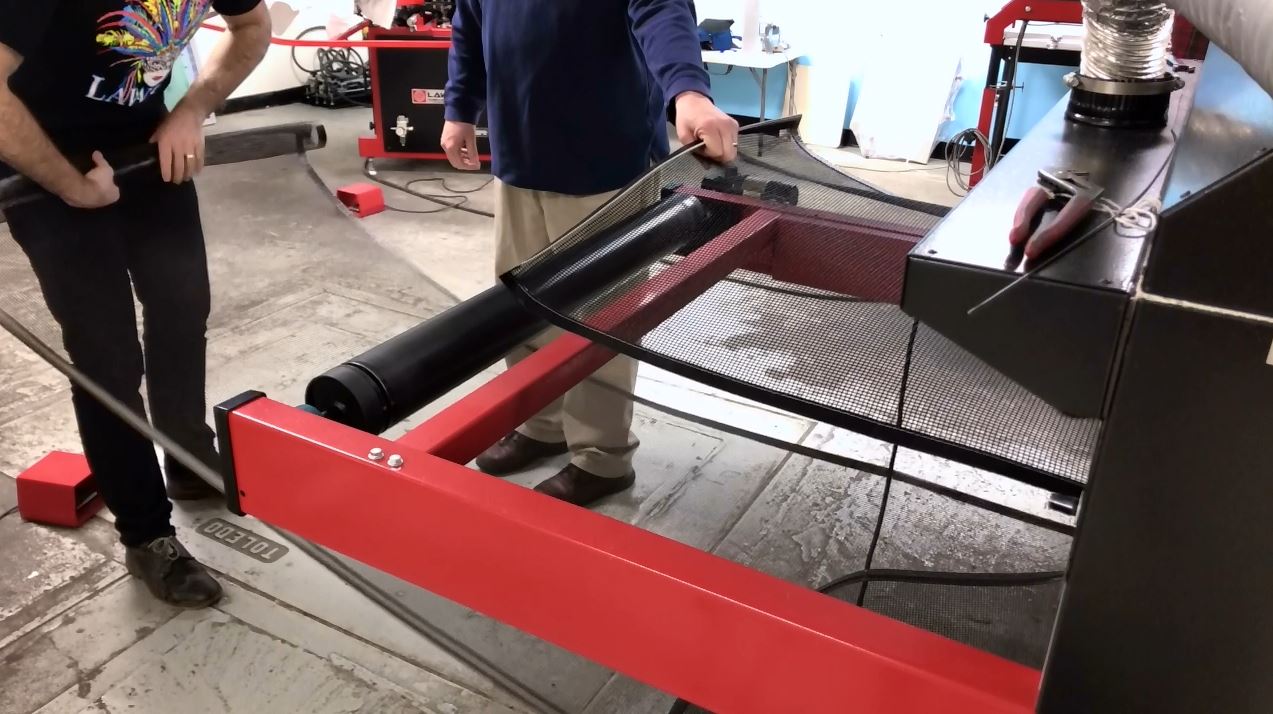
There are multiple ways to install a new dryer belt. We have added a video to this blog of Brian and Taylor demonstrating one method that they think is easy. Remember that the installation will go much smoother with two people.
To begin, add your new belt and place it over the old belt. Take some string and tie the two ends together. Once secured, start your screen printing dryer belt. You want to run the belt away from you so the belt goes on top and then loops below. Run it all the way until the two ends come back together. At this point, stop the belt.
Loosen all four end caps on both rails. Remove the string and then pull the pin that connects the old belt. Go ahead and let that fall. While your partner holds the new belt up and in place, have the other person pull and remove the old belt. This is much easier with two people.
Once you do that, take the new belt and put the two ends together and simply insert the pin into the alligator clips. You will want to utilize the end crossbar. It helps a lot. If you place the alligator clips on top of this, it will create a stable platform for inserting the pin. Once you have connected the belt, go and tighten all four end caps and ensure that your belt is tracking properly.