How to Choose Dye-Sublimation Ink & Paper
Choose sublimation supplies as a coordinated system: printer, ink, transfer paper, compatible substrate, and heat-transfer equipment.
Start with the product you want to decorate and the printer you own. Then verify each supply against the exact equipment and application instructions.
1. Identify Your Printer and Installed Ink
Record the full printer model and current ink product before purchasing replacements.
Confirm:
- Printer manufacturer and model.
- Installed ink family.
- Complete ink product code.
- Required color.
- Bottle or cartridge format.
- Container capacity.
- Any known changes to the original configuration.
Do not assume every Epson ink is a sublimation ink or that two products for the same printer brand are interchangeable.
If you cannot identify the current supply, provide photos of its label and the printer identification label before ordering.
2. Select T49M Ink for the Epson SureColor F570
The SureColor F570 uses Epson T49M dye-sublimation ink in 140 mL bottles.
Confirm the required color and product code:
- Black: T49M120.
- Cyan: T49M220.
- Magenta: T49M320.
- Yellow: T49M420.
Review the selected variant and package contents before checkout. Do not assume a listing supplies a complete CMYK set unless it explicitly says so.
Use the F570 instructions and ink label for filling, storage, and handling.
3. Verify Legacy Printer Supplies Separately
For an older Epson Stylus Pro or another legacy printer, identify the exact installed ink system before ordering.
A printer model alone may not resolve which formulation is currently in use, particularly if its history or configuration is unknown.
Confirm:
- Exact printer model.
- Current ink brand and formulation.
- Cartridge product codes.
- Any documented conversion history.
- Supported paper and transfer workflow.
Do not substitute pigment, photographic, or general-purpose ink into a dye-sublimation process based on collection placement or a similar cartridge shape.
4. Compare Epson and LWG Transfer Paper
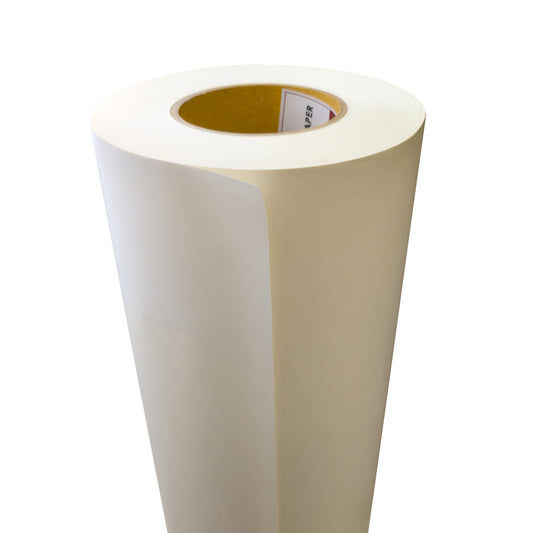
This collection includes Epson DS Sublimation Transfer Multi-Use Paper and LWG Dye Sublimation Transfer Paper.
Compare the exact options using your printer and production requirements.
Review:
- Supported printing process.
- Available dimensions.
- Sheet or roll format.
- Package quantity or roll length.
- Printable-side identification.
- Recommended media settings.
- Ink compatibility.
- Handling and transfer instructions.
Do not assume the two papers use identical settings or provide the same result on every substrate.
5. Match Paper Format to Your Printer
Choose sheets or rolls according to your printer’s supported media handling.
Check:
- Supported paper width.
- Maximum sheet dimensions.
- Roll-loading requirements.
- Roll core and diameter limits, where applicable.
- Required margins.
- Usable print area.
- Media-path instructions.
A paper that physically fits into the printer is not automatically suitable for the installed ink or intended transfer process.
Confirm the actual selected product dimensions rather than relying on a general collection description.
6. Confirm the Fabric or Blank Is Suitable
For textiles, obtain the fabric composition and any coating or treatment details.
For hard goods, confirm that the blank is explicitly intended for sublimation and review its supplier’s transfer instructions.
Check:
- Material composition.
- Sublimation-compatible coating, where required.
- Base color.
- Surface shape and dimensions.
- Recommended transfer method.
- Temperature limitations.
- Care requirements.
Do not assume that every mug, metal panel, plastic item, or polyester blend will produce the same result.
7. Understand Fabric Color and Blend Limitations
Sublimation does not provide a white-ink layer. The substrate color therefore matters when planning the finished design.
For blended fabrics, review the supplier’s guidance and test the actual garment. Do not treat one polyester percentage as a universal pass-or-fail rule for every application.
Consider:
- Desired color appearance.
- Fabric composition.
- Garment base color.
- Expected finish.
- Customer acceptance criteria.
- Recommended care testing.
If your project requires opaque white artwork, printing onto dark cotton, or another unsuitable combination, evaluate an alternative decoration process.
8. Match the Heat-Transfer Equipment to the Product
Choose transfer equipment around the product’s shape, dimensions, and supplier instructions.
Confirm:
- Flat or shaped application.
- Required working area.
- Suitable attachments.
- Temperature, time, and pressure requirements.
- Product positioning.
- Protective materials.
- Cooling or removal instructions.
Do not assume that one flat heat press can handle every drinkware or specialty application.
For equipment options, explore Heat Presses & Transfer Equipment.
9. Follow Product-Specific Printing and Transfer Instructions
Use the guidance for your exact printer, ink, paper, and blank.
Review:
- Artwork preparation.
- Mirroring requirements.
- Media settings.
- Color-management workflow.
- Printable-side orientation.
- Transfer placement.
- Heat application.
- Paper removal.
- Finished-product handling.
Avoid using one temperature and time combination for every substrate.
If instructions conflict, request clarification before production.
10. Test Changes Before Production
When changing paper, ink, printer settings, blanks, or transfer equipment, complete the suppliers’ recommended testing.
Evaluate:
- Color appearance.
- Image detail.
- Placement accuracy.
- Unwanted marks or image movement.
- Surface condition.
- Finished-product care performance.
Record the materials and process used so a successful result can be reproduced.
A sample on one blank does not establish suitability for every material or supplier.
11. Review Storage and Purchase Details
Follow the product label and available documentation for storage and handling.
Before ordering, verify:
- Exact ink or paper product.
- Printer compatibility.
- Required color.
- Sheet or roll dimensions.
- Capacity or package quantity.
- Current purchasing information.
- Applicable return terms.
Do not compare starting prices without checking that the selected quantities and dimensions are equivalent.
Before You Order: Sublimation Supply Checklist
Have these details ready when contacting Lawson Workhorse Group:
- Printer: Manufacturer and full model name.
- Current ink: Brand, family, color, and product code.
- Required paper: Sheet or roll format and dimensions.
- Product to decorate: Garment, drinkware, panel, or other blank.
- Material: Fabric composition or coating details.
- Base color: The color of the garment or blank.
- Artwork: Required print dimensions.
- Transfer equipment: Press model and attachments.
- Current process: Media settings and transfer instructions.
- Product of interest: Listing name or link.
Get Help Choosing Sublimation Supplies
Contact Lawson Workhorse Group with your printer, installed ink, paper requirements, and intended product.
For legacy systems, include current cartridge labels and any known configuration history. Confirm compatibility before changing ink formulations or purchasing supplies for an unfamiliar workflow.
Request Sublimation Supply Assistance

 Vendor:Epson
 Vendor:Epson
 Vendor:Lawson Workhorse Group (LWG)
 Vendor:Epson
 Vendor:Epson


